背景
通过Hexo搭建了静态博客,使用的是hexo-theme-skapp主题,此主题默认支持本地搜索,但由于依赖了lunr库,一直无法安装成本lunr库,导致搜索功能一直无法使用。
同时为了更加深入的了解Hexo的原理,就想基于hexo-theme-skapp的源码修改,让其支持本地搜索。
思路分析
由于Hexo是静态博客,没有后台服务,不能利用常规后端做数据库的存储及查询来实现搜索功能,只能通过前端js来实现查询逻辑。
静态博客实现搜索的整个流程:
- 通过Hexo插件,生成所有文章的索引文件search.json
- 前端搜索页面,请求并载入索引文件search.json
- 解析检索词,并进行分词处理
- 在索引中进行搜索词的匹配
- 展示搜索结果
可复用主题hexo-theme-skapp上的搜索结果展示功能,只需要完成前面4步就行。
实现过程
生成索引文件search.json
刚开始是使用Hexo插件hexo-generator-search来实现此功能,但由于此插件生成的索引文件只有文章的基本数据,缺少很多关键数据,如cover, date, subtitle, author等等信息。
最终基于插件hexo-generator-search的源码重写索引生成功能,整体实现过程很简单,主要是从locals.posts对象里,读取需要数据存入索引文件里。
展示所需要的数据结构:
1
2
3
4
5
6
7
8
9
10
11
12
13
14
15
16
17
| {
"cover": "页面头部图片地址",
"title": "标题",
"month": "十月",
"day": 31,
"date": "2020-10-31",
"url": "地址",
"desc": "字标题",
"authorNick": "作者",
"authorLink": "作者地址",
"tagArr": [
{
"name": "标签名",
"path": "标签地址"
}
]
}
|
上面的大部分都不难,只有一个功能比较麻烦,生成的月份需要转换为中文月份,通过一个数组进行转换,如下所示:
1
2
3
4
| var MonthArr = ["一月", "二月", "三月", "四月", "五月", "六月", "七月", "八月", "九月", "十月", "十一月", "十二月"]
var dateObj = new Date(data.date);
var month = MonthArr[dateObj.getMonth()];
|
整体实现如下所示:
1
2
3
4
5
6
7
8
9
10
11
12
13
14
15
16
17
18
19
20
21
22
23
24
25
26
27
28
29
30
31
32
33
34
35
36
37
38
39
40
41
42
43
44
45
46
47
48
49
50
51
52
53
54
55
56
57
58
59
60
61
62
63
64
65
66
67
68
69
70
71
72
| var pathFn = require('path');
var fs = require('fs');
function json_generator(locals){
var searchName = "search.json";
var datas = locals.posts.sort('-date') || [];
var MonthArr = ["一月", "二月", "三月", "四月", "五月", "六月", "七月", "八月", "九月", "十月", "十一月", "十二月"]
var res = new Array()
var index = 0
datas.each(function(data) {
if (data.indexing != undefined && !data.indexing) return;
var temp_data = new Object()
if (data.cover) {
temp_data.cover = data.cover
}
if (data.title) {
temp_data.title = data.title
}
if (data.date) {
var dateObj = new Date(data.date);
var year = dateObj.getFullYear();
var month = dateObj.getMonth();
var day = dateObj.getDate();
temp_data.month = MonthArr[month];
temp_data.day = day;
temp_data.date = year + "-" + (month+1) + "-" + day;
}
if (data.path) {
temp_data.url = '/' + data.path
}
if (data.subtitle) {
temp_data.desc = data.subtitle
}
if (data.author && data.author.nick) {
temp_data.authorNick = data.author.nick
}
if (data.author && data.author.link) {
temp_data.authorLink = data.author.link
}
if (data.tags && data.tags.length > 0) {
var tags = [];
data.tags.forEach(function (tag) {
tags.push({
'name': tag.name,
'path': '/' + tag.path
});
});
temp_data.tagArr = tags
}
res[index] = temp_data;
index += 1;
});
var json = JSON.stringify(res);
return {
path: searchName,
data: json
};
};
hexo.extend.generator.register('json', json_generator);
|
前端的检索逻辑
通过axios库请求索引文件search.json:
1
2
3
4
5
6
7
8
9
10
11
| axios
.get('/search.json')
.then(function(res){
return res.data;
})
.then(function(data) {
self.initSearch(data);
})
.catch(function(error){
console.log(error);
});
|
获取搜索词,在索引中进行搜索词的匹配,如下所示:
1
2
3
4
5
6
7
8
9
10
11
12
13
14
15
16
17
18
19
20
21
22
| function searchFunc(queryString, datas) {
var result = [];
var keyword = queryString.trim();
console.log('11111', keyword);
for(var dataIndex in datas){
var data = datas[dataIndex];
data.title = data.title || '';
data.content = data.content || '';
var index_title = data.title.indexOf(keyword);
var index_content = data.content.indexOf(keyword);
if (index_title >= 0 || index_content >= 0) {
result.push(data);
}
}
return result;
}
|
最后就是展示搜索结果,此处是复用主题hexo-theme-skapp的展示逻辑。
主题hexo-theme-skapp的其他个性化改造
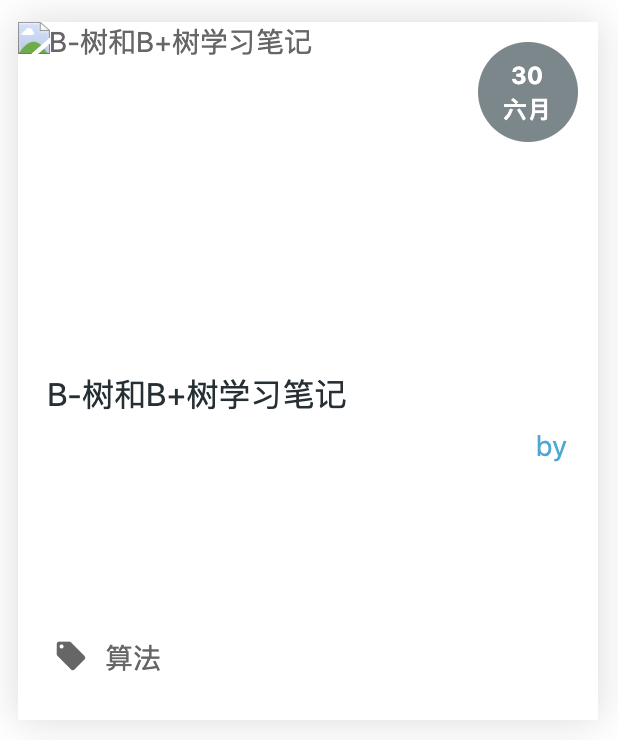
很多文章只有标题数据,没有其他信息,导致列表显示很丑,如下所示:

修改方式是给各种信息添加默认值。
Cover图片添加默认图
此功能默认已经支持,只需要配置一下就行,如下所示:
1
2
| # page default cover
default_cover: /hexo-img/default_cover.png
|
描述添加默认值
当文章缺少相应的描述信息时,获取文章正文的前200个字符,但由于正文里有html标签,需要使用相应的函数去掉html标签信息,实现代码如下所示:
1
2
3
4
5
6
7
8
| <p itemprop="articleSection" class="min-article__desc">
{% if not post.subtitle %}
{{ truncate(strip_html(post.content), 200) }}
{% endif %}
{% if post.subtitle %}
{{ post.subtitle }}
{% endif %}
</p>
|
作者信息添加默认值
因为此博客是个人博客,作者信息本身可以不用配置,直接使用config里的作者信息就行。
1
2
3
4
5
6
7
8
9
10
11
12
13
| {% if post.author %}
<span itemprop="author" itemscope itemtype="http://schema.org/Person">
<a itemprop="url" href="{{ post.author.link }}" target="_blank">
<span itemprop="name">{{ titlecase(post.author.name || post.author.nick) }}</span>
</a>
</span>
{% else %}
<span itemprop="author" itemscope itemtype="http://schema.org/Person">
<a itemprop="url" href="{{ get_setting('author').link }}" target="_blank">
<span itemprop="name">{{ titlecase( get_setting('author').name ) }}</span>
</a>
</span>
{% endif %}
|
其他
类似的方式修改了其他几处问题:
- 详情页作者的默认显示
- 详情页文章的显示效果调整,字体调大为16px,减少间距到10px
- 修改首页的标题标的字体
参考
- 为 Hexo 博客创建本地搜索引擎

